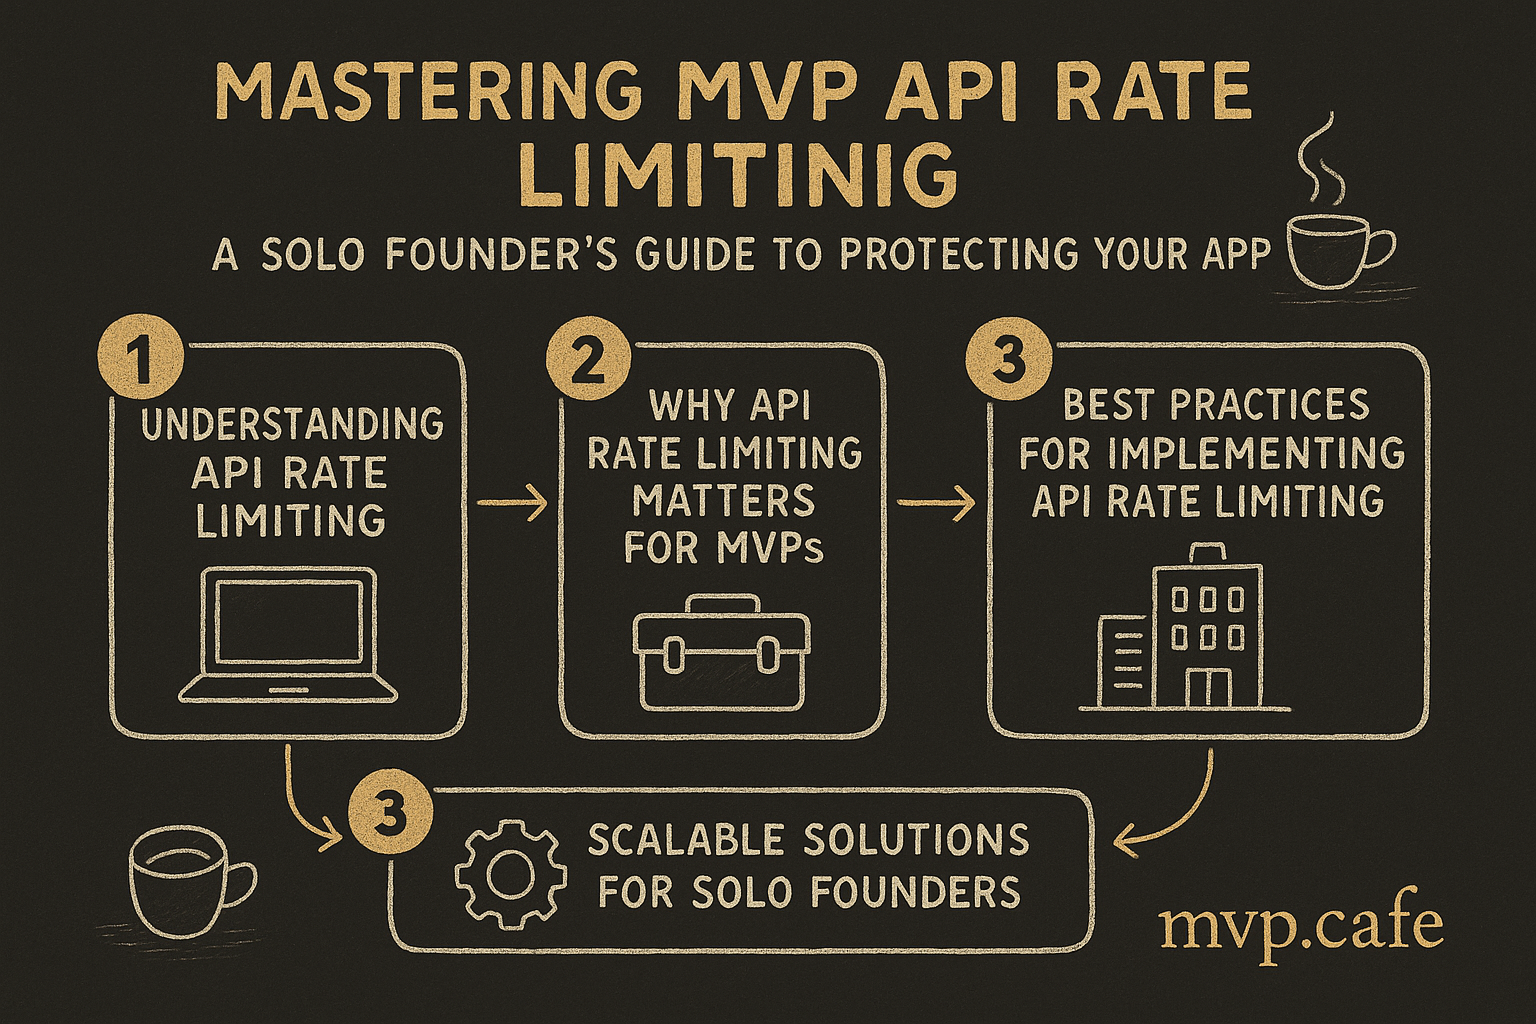
Understanding API Rate Limiting
API rate limiting might sound a bit complex, but it’s a lifesaver for any app, especially if you’re a solo founder safeguarding an MVP. In simple terms, it’s about controlling how many times someone can ping your API within a certain time frame. Imagine it as a bouncer at a club, making sure the place doesn’t get too crowded.
By managing API traffic, you dodge server overloads and potential misuse. This way, your app remains stable and zippy, even when the going gets tough. For MVPs, this isn’t just a nice-to-have—it’s essential. A sudden traffic spike without rate limiting can crash your app, losing you users and credibility.
Why MVPs need it: Rate limiting keeps your user experience consistent. It shields your infrastructure from malicious attacks and accidental overloads. Getting this right from the start can save you massive headaches later.
Why API Rate Limiting Matters for MVPs
In my experience, I’ve seen what happens when rate limits are skipped. During a promo event, the servers couldn’t handle the load and crashed. Not fun.
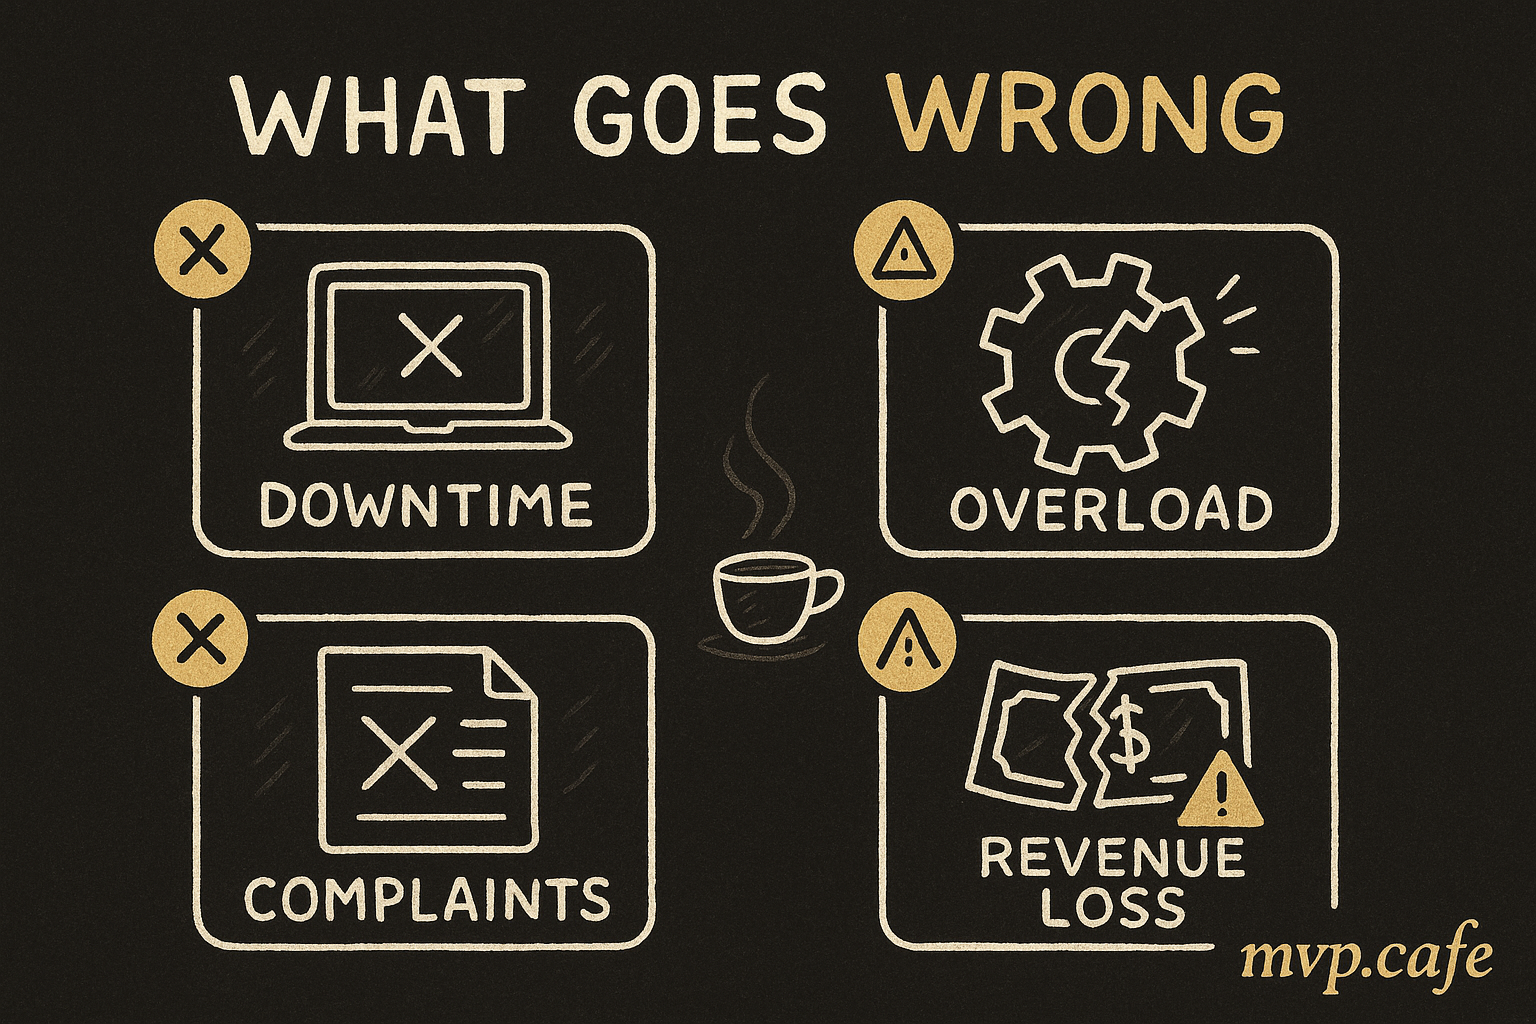
For solo founders, shielding your MVP from such scenarios is crucial. Traffic spikes aren’t just a sign of success; they can also be caused by bugs or malicious activity. Without rate limiting, your app is a sitting duck.
How it saves the day: By capping request numbers, you ensure your app can handle unexpected loads. It also gives you breathing room to scale infrastructure when needed. Rate limiting isn’t just defensive; it’s a tool for strategic growth.
Best Practices for Implementing API Rate Limiting
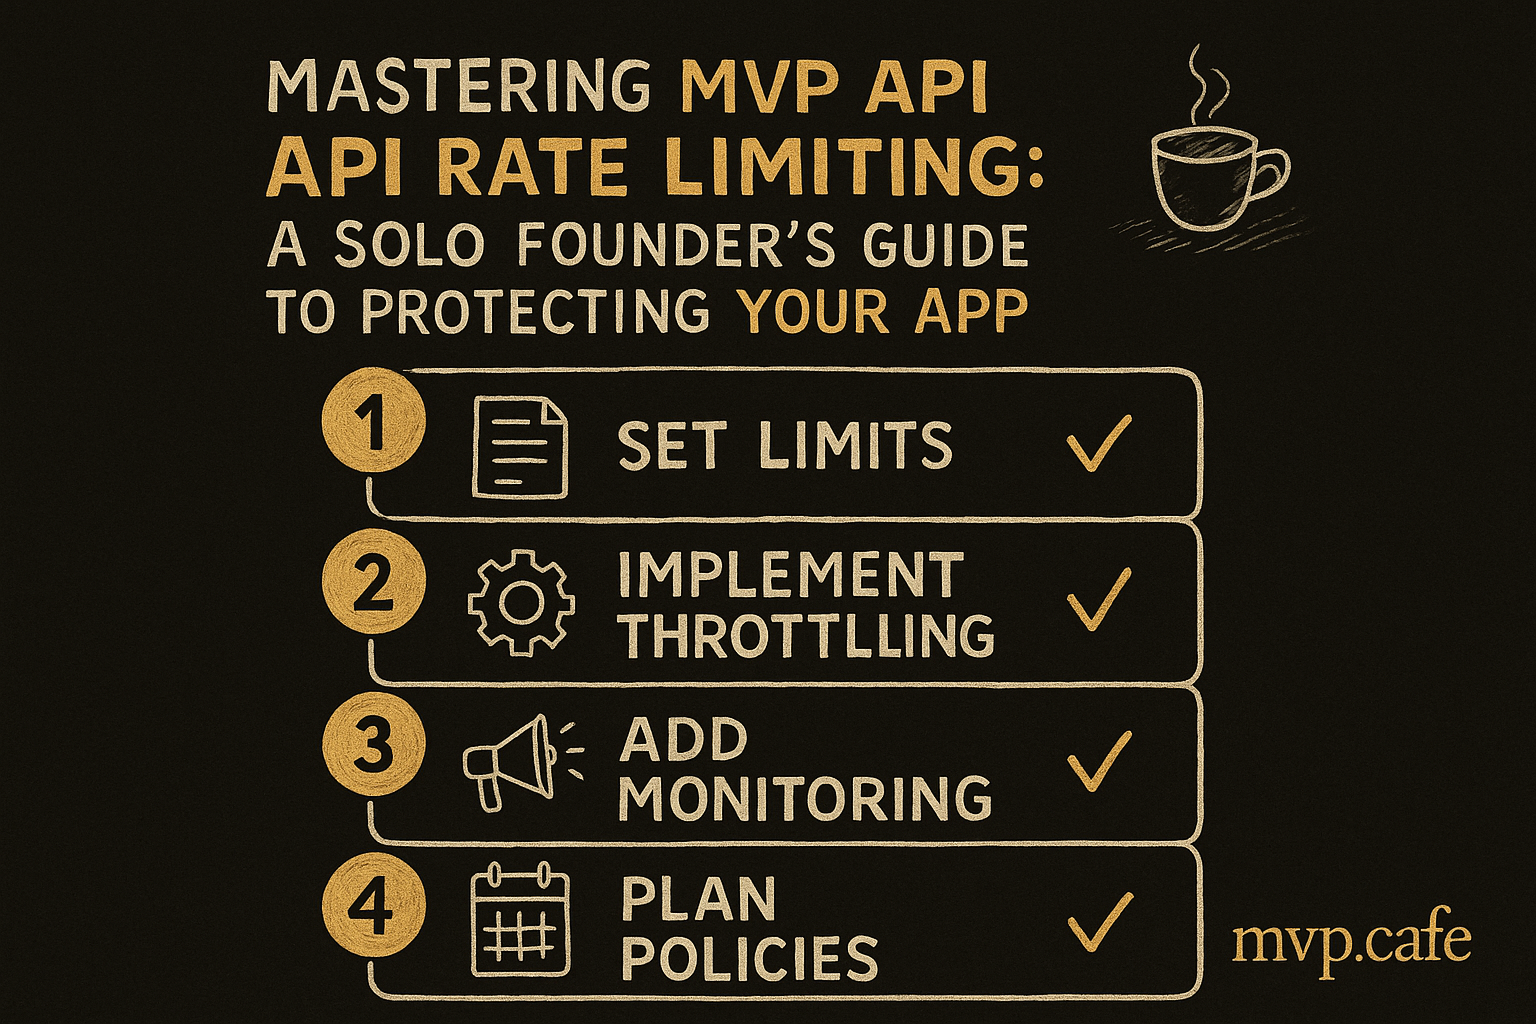
So, how do you nail this? Start by setting appropriate limits. Too strict, and you annoy users; too lenient, and your app keels over. A popular method is the token bucket algorithm, which allows request bursts but keeps the overall rate in check.
Monitoring is your friend. Set up alerts for when limits are hit or exceeded. This helps you tweak and adjust as your user base grows.
For solo founders, simplicity is gold. Start with basic limits and add complexity as you go. Don’t get bogged down with complicated setups from day one.
For more on the importance of technical planning, check out why solo founders need technical strategy.
Scalable Solutions for Solo Founders
When picking tools, think scalability. You need something that grows alongside your app. Popular choices like AWS API Gateway, Kong, and Tyk are worth a look. Each has its strengths and weaknesses, but all offer solid rate limiting features.
At GoMechanic, we took a scalable approach that let us handle a 200% growth in membership without breaking a sweat. Finding a tool that meshes well with your stack is key.
Before diving in, consider our Clarity Strategy Sprint to align your tech approach with your growth goals.
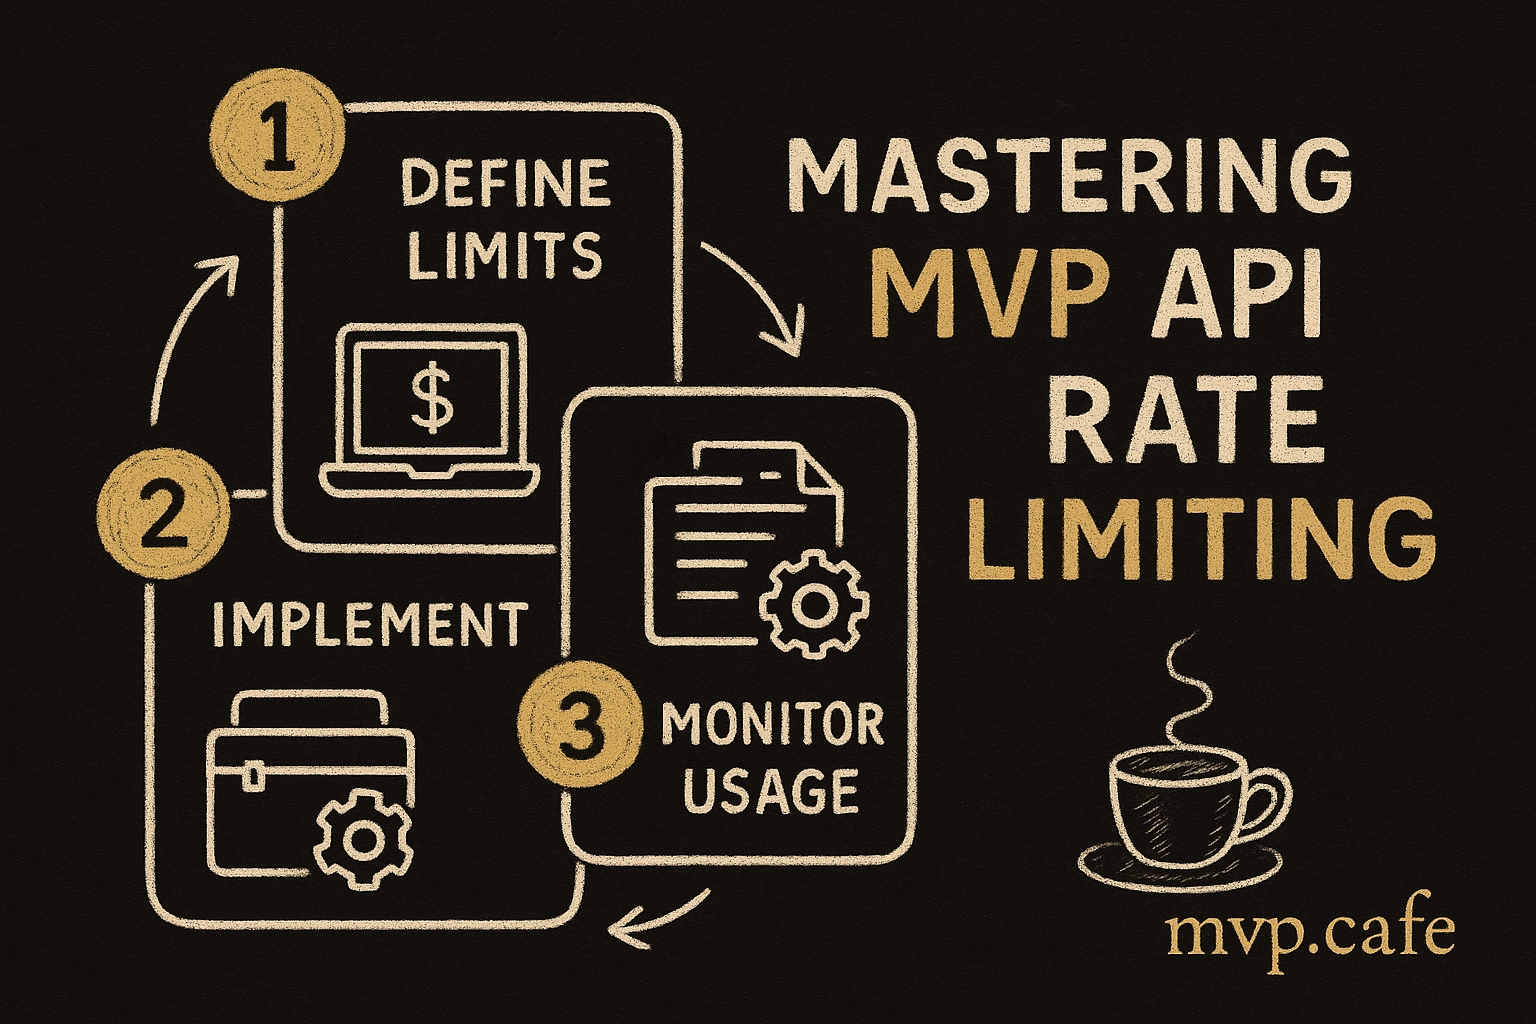
Step-by-Step Guide to Implementing API Rate Limiting
Ready to get started? Kick off by figuring out what your app specifically needs. How many requests can your server handle comfortably? What’s the usual usage pattern?
Next, select a rate limiting tool that matches your needs. Configure it with initial settings and test thoroughly. Testing is where you fine-tune your limits to keep user experience stable while ensuring app reliability.
Finally, watch usage patterns like a hawk and be ready to adjust limits as your app scales. Rate limiting isn’t something you set up and forget.
For a comprehensive MVP build that includes rate limiting, explore our works offering.
Common Pitfalls and How to Avoid Them
Don’t underestimate the limits you need. It’s tempting to start small, but overly tight limits can frustrate users. Also, avoid overcomplicating the setup. Start simple and build as necessary.
Lastly, don’t skimp on monitoring. Adjusting limits based on real-world data is crucial for maintaining a smooth user experience.
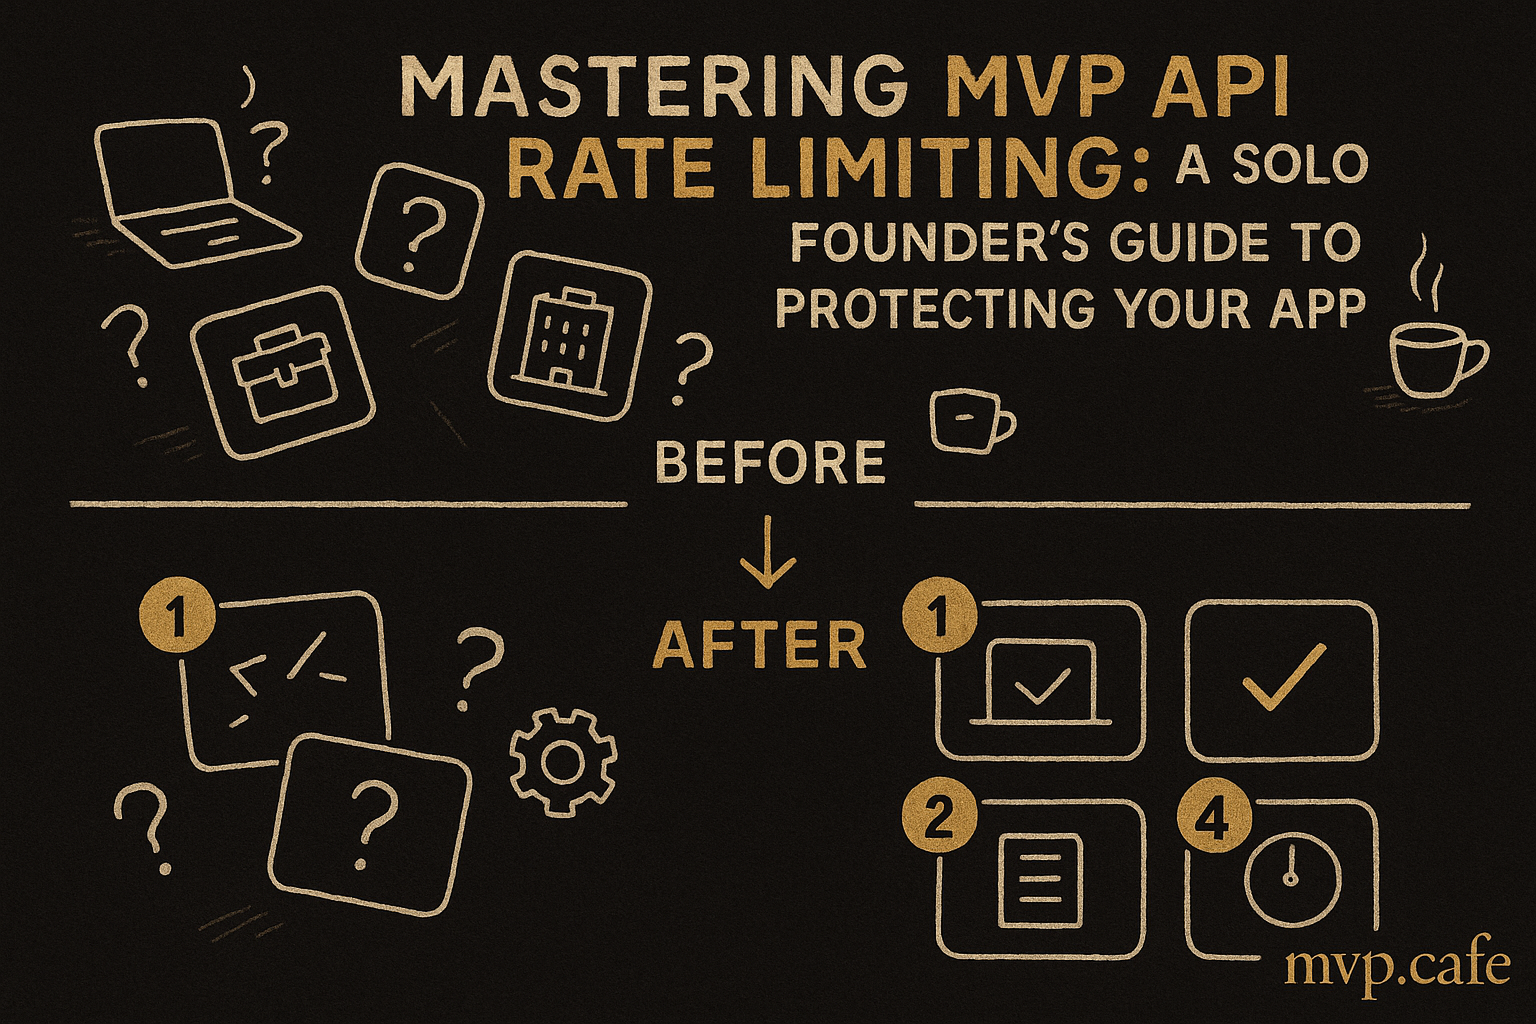
[INLINE IMAGE: Callout highlighting common pitfalls]
Setting up API rate limiting might seem daunting, but it’s a savior for your MVP. Protecting your app from the start ensures you can scale without fear.